Live Streaming Video for RC Tracks
Step by Step Guide to setting up a camera, computer with Open Broadcaster Studio, and Youtube
Streaming live video from your track is a great way to bring new people in and provides a great way for your racers to follow what's happening at the track even when they can't be there. This guide will walk you through the whole process of setting up a Youtube channel as well as setting up a computer and camera for a high quality live feed.
Why Youtube?
Besides offering the best quality streaming video, Youtube's popularity and related video system mean that anyone who lives near your track and goes looking for RC videos has a very good chance of being shown your live stream as a recommended or related video. Since you own the channel that the video is being sent to, you keep control of your track's video feed -- you'll never have anyone else decide to run ads for competing hobby shops on your channel and you can decide which videos are posted and when.
Steps
There are 3 main steps in the guide below to getting your stream running.
- Check Your Track's Internet Speed
- Pick a Camera
- Set Up the Computer to stream to Youtube with Open Broadcaster Software
Checking Your Track's Internet Speed
The quality of your video stream will depend on how much upload bandwidth you have available at your track. It's best to check how much bandwidth you have available before you go shopping for a camera so that you don't end up buying more camera than your internet connection can handle.
You can easily check how much upload bandwidth you have by going to speedtest.net from a computer or phone that's connected to your Track's internet connection.

Based on your upload speed, here are our recommended video quality settings. You can find a full list of Youtube's supported streaming formats here. Higher frames per second will make the video much "smoother" and easier to see fast-moving cars - you'll be able to see the paint job on each car instead of "white blur, orange blur..." :)
- < 2 Mb/s - 480p, 30 frames per second (fps)
- 2-3Mb/s - 720p, 30 frames per second (fps)
- 4+ Mb/s - 720p, 60 frames per second (fps)
Picking a Camera
While nearly any camera can be used to stream live video, we have picked out a few models that perform particularly well for capturing fast-moving RC action. If you have another camera you'd like to use, just check to be sure it is compatible with Open Broadcasting Software Studio.

Good 1-2 Mb/s
DVD Quality Video - 480p or 720p, 30 frames per second (fps)
Logitech C920 Webcam - $45 Amazon
Better 2-3 Mb/s
HD 720p, 60 frames per second (fps) for clearer fast-moving objects
Logitech C922 Webcam - $95
Best 4+ Mb/s
With a HDMI Capture Box, you can use any camera that can output HDMI with OBS. We like the Elgato model because it also includes an audio line-in that you can connect to your sound board to get the announcer's voice in your stream.
GoPro capable of 1080p/60fps - $250 (Hero 3 Silver+ is the cheapest for 60fps, most newer GoPros can do 60fps but check the specs on each model to be sure.)
https://www.amazon.com/GoPro-CHDHN-302-HERO3-Silver-Edition/dp/B00F3F0EIU
Elgato HD60 HDMI Capture Box - $155
https://www.amazon.com/Elgato-Capture-PlayStation-gameplay-1080p/dp/B00MIQ40JQ
Download OBS and Set Up Camera and Overlay
Download OBS Studio here. Once installed, click the "+" under sources, and select "Video Capture Device." Choose your camera, and feel free to play with the various settings to get the best picture quality.
To set up the overlay, click the "+" under sources again and choose "BrowserSource". For the URL, type in http://rcscoringpro.com/vertical-overlay/X/ where X is your track number. You can find your track number by going to the RC Scoring Pro homepage and clicking your track -- if your track's live page is at rcscoringpro.com/live/1/, then your track number is 1. Set the size to 1280 pixels high and 720 pixels wide, and leave the rest of the settings defaulted.
You should now be able to resize the red boxes for each source so that they fill the whole preview area, and can also experiment with adding a track logo, title text, an alternate angle camera, or whatever else you might want to show in your video stream.
Download OBSGet Live Streaming Key From Youtube
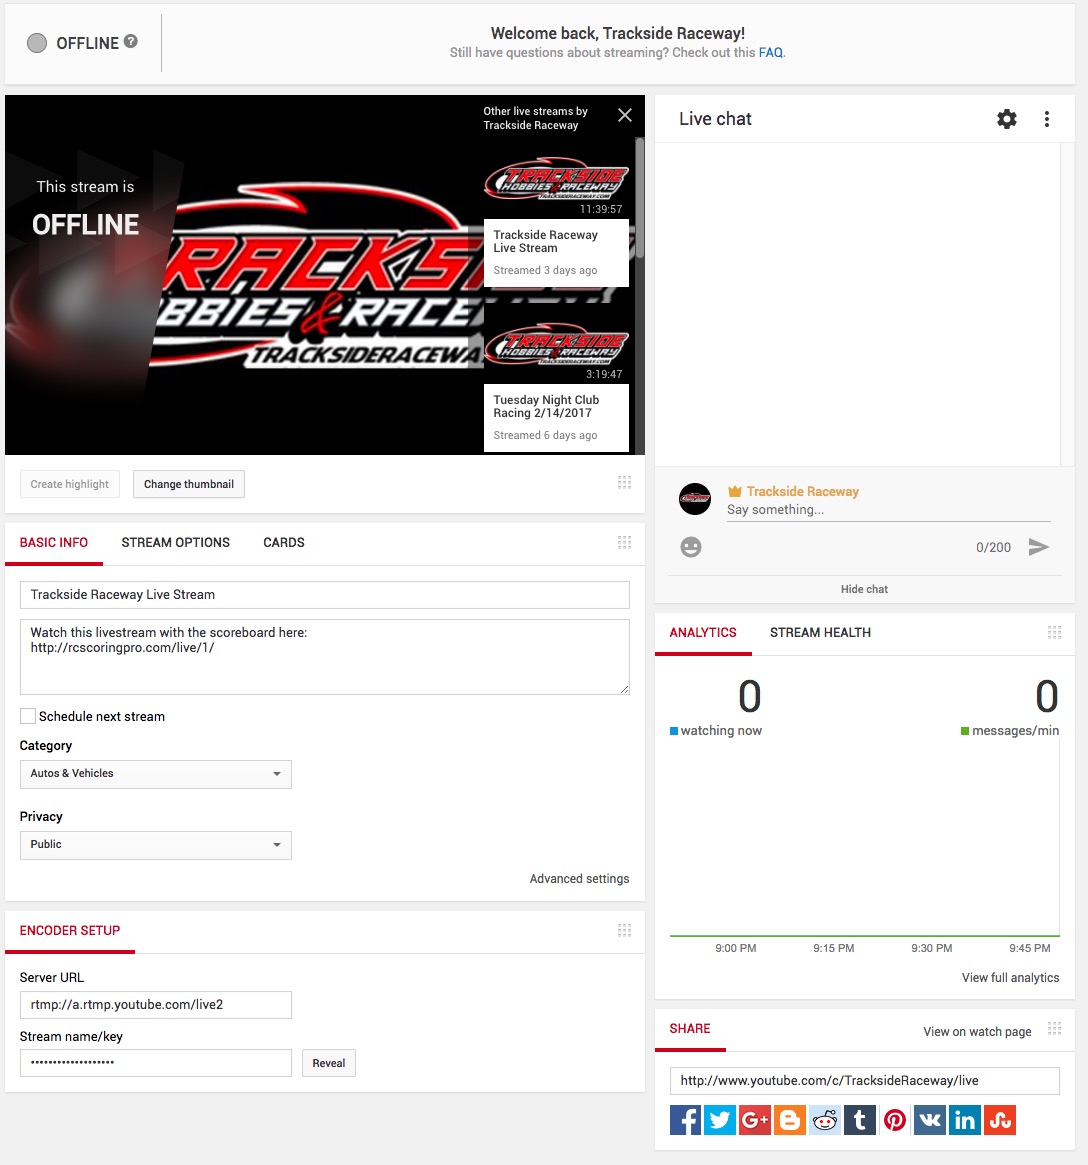
In order to stream live video to your channel, Open Broadcasting Software needs a key for your Youtube account. You can get a key to live stream from your account by going here: https://www.youtube.com/live_dashboard
If you haven't already live streamed from your Youtube account, you can find a step by step guide to setting up your youtube account here.
Youtube Setup InstructionsConfigure OBS for Youtube Streaming
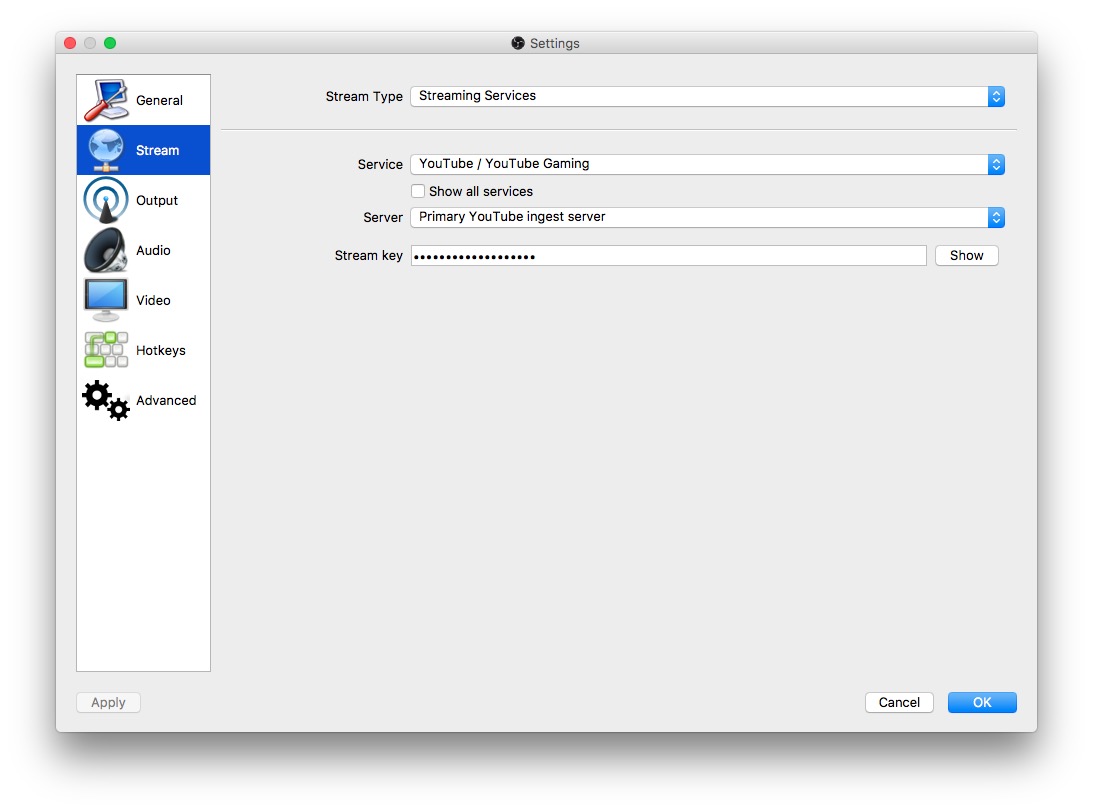
Now that you have your Youtube Stream Key, open OBS and click "Settings". Enter your Youtube Stream Key in the Stream Tab:
Now go to the Output tab, and set the Video Bitrate. We recommend 1000-1500 for 480p video, 2000-3000 for 720p 30 fps video, and 4500 for 720p 60fps video. You can also change your encoder settings here to accomodate slower CPUs, but we recommend trying the default encoder settings before turning the quality down.

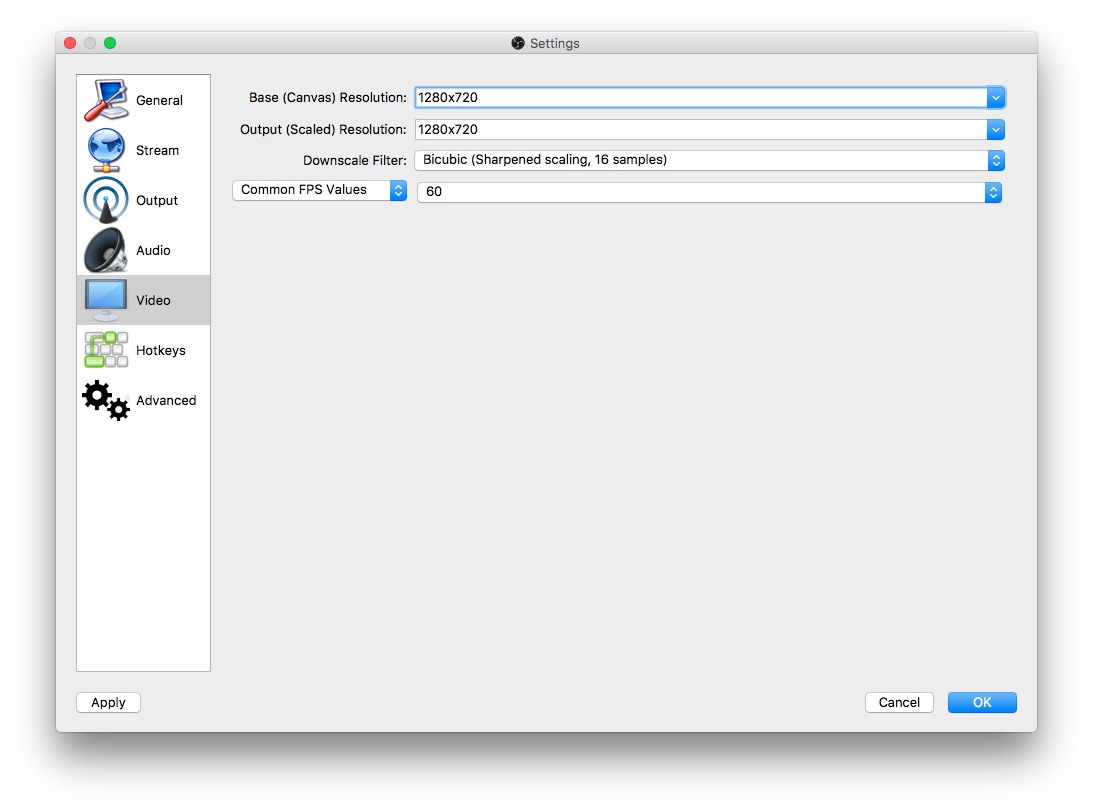
Next, click the Video tab. Set your Video Resolution and Frame Rate to 1280x720 (720p) or 854x480 (480p), and your frame rate to either 30 or 60 depending on the bit rate you picked on the output tab.
Start Streaming!
You should now be able to click "Start Streaming" in OBS, and see your stream live from your Youtube Live Dashboard at youtube.com/live_dashboard. If your stream health is low, try reducing your Video Bitrate from the output tab or reducing your resolution or framerate.
If you have questions or need help in setting up your track's video stream, feel free to contact us!